How to Add a New Blog Post in WordPress
Step 1: Login and Go to Posts
Login to your WordPress admin:
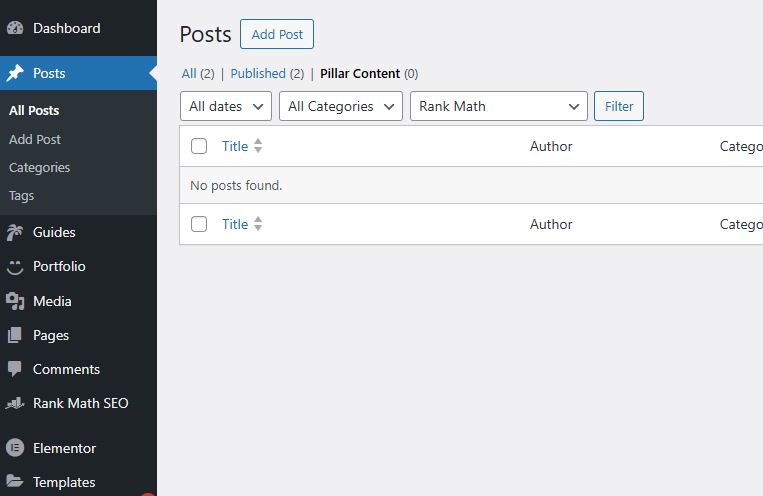
➤yourdomain.com/wp-adminOn the left sidebar, click “Posts” > “Add New”

WordPress dashboard with “Posts > Add New” menu highlighted.
Step 2: Add Your Post Title
At the top of the editor, click where it says:
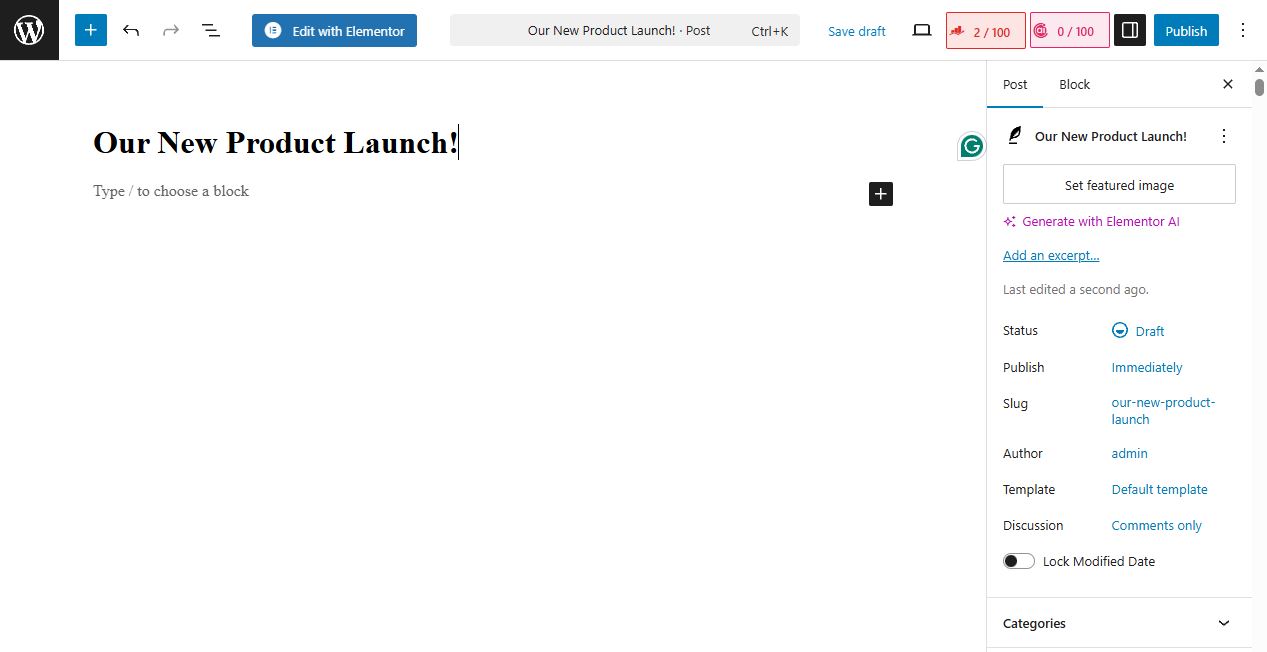
➤ “Add title”Type in your blog post title (e.g. “Our New Product Launch!”)

Add Title field highlighted in the Gutenberg editor
Step 3: Add Your Content
Below the title, click the text area.
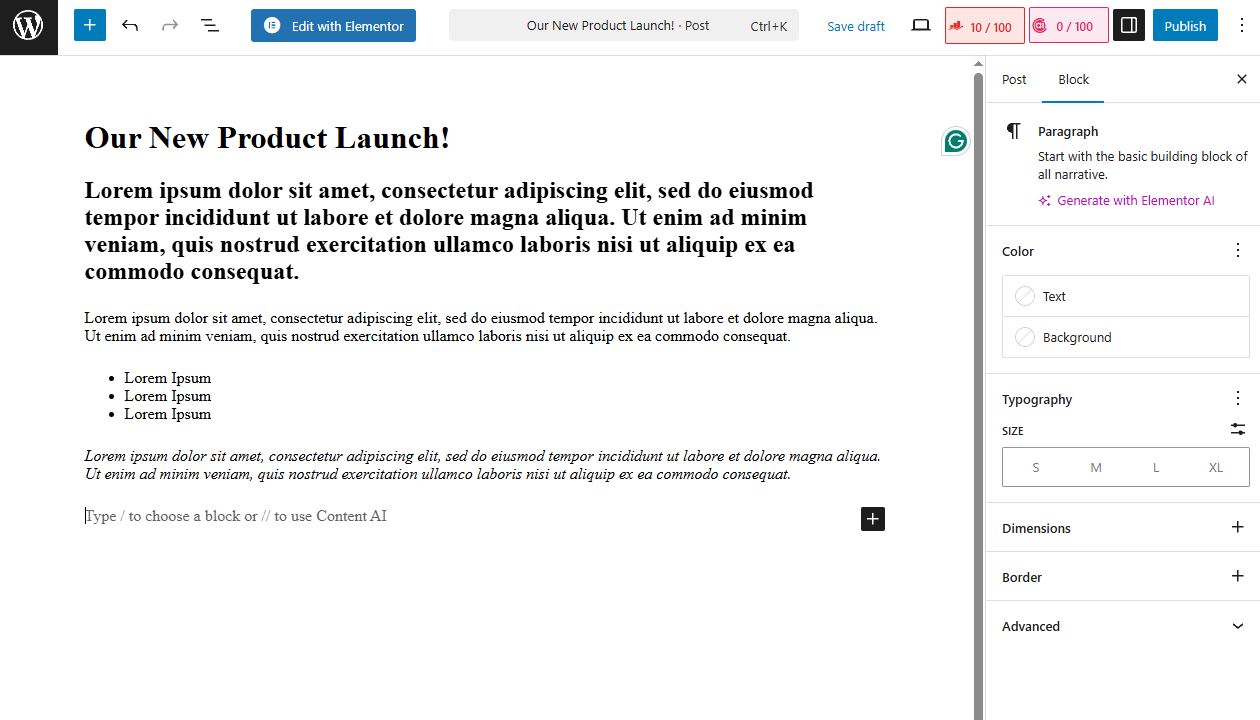
Start writing your post content. You can:
Type paragraphs
Add headings
Add bullet or numbered lists
Format text (bold, italic)

Gutenberg block editor with paragraph and heading blocks shown.
Step 4: Add Media (Images or PDFs)
Click the “+” (Add Block) icon
Choose Image, Gallery, or File
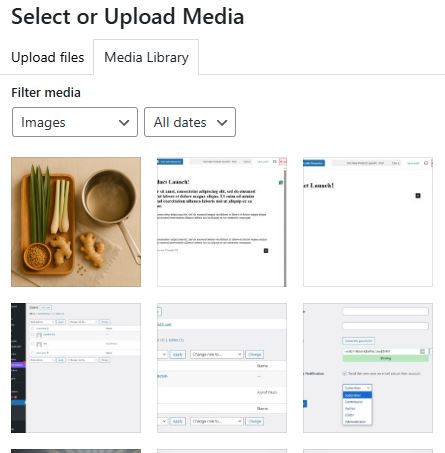
Upload new files or choose from Media Library
Insert into your post

Media upload popup with image selected.
Step 5: Select Category and Tags
On the right sidebar under “Post”, find Categories
Tick one or more relevant categories
(Optional) Add tags under “Tags” section

Categories panel shown with boxes checked.
Step 6: Set a Featured Image
In the right sidebar, scroll to Featured Image
Click Set featured image
Upload or choose image > Click Set featured image

Featured image panel with image selected.
Yibon Creative Inc. (Formerly Known As Yibon Mag Enterprise) © since 2008
Disclaimer: Yibon Creative Inc. does not have any affiliation with any domain compnay mentioned on this page to offer such promotion. All other company names, brand names, trademarks and logos mentioned on this page are the property of their respective owners and do not constitute or imply endorsement, sponsorship or recommendation thereof by Yibon Creative Inc. of the respective trademark owners.